To customize the invoice number prefix and enable precision numbering for your invoices, follow these steps:
- Access the Settings Menu
- Click on your profile avatar or name at the top right of the dashboard.
- Select Settings from the dropdown.

- Navigate to invoice Settings
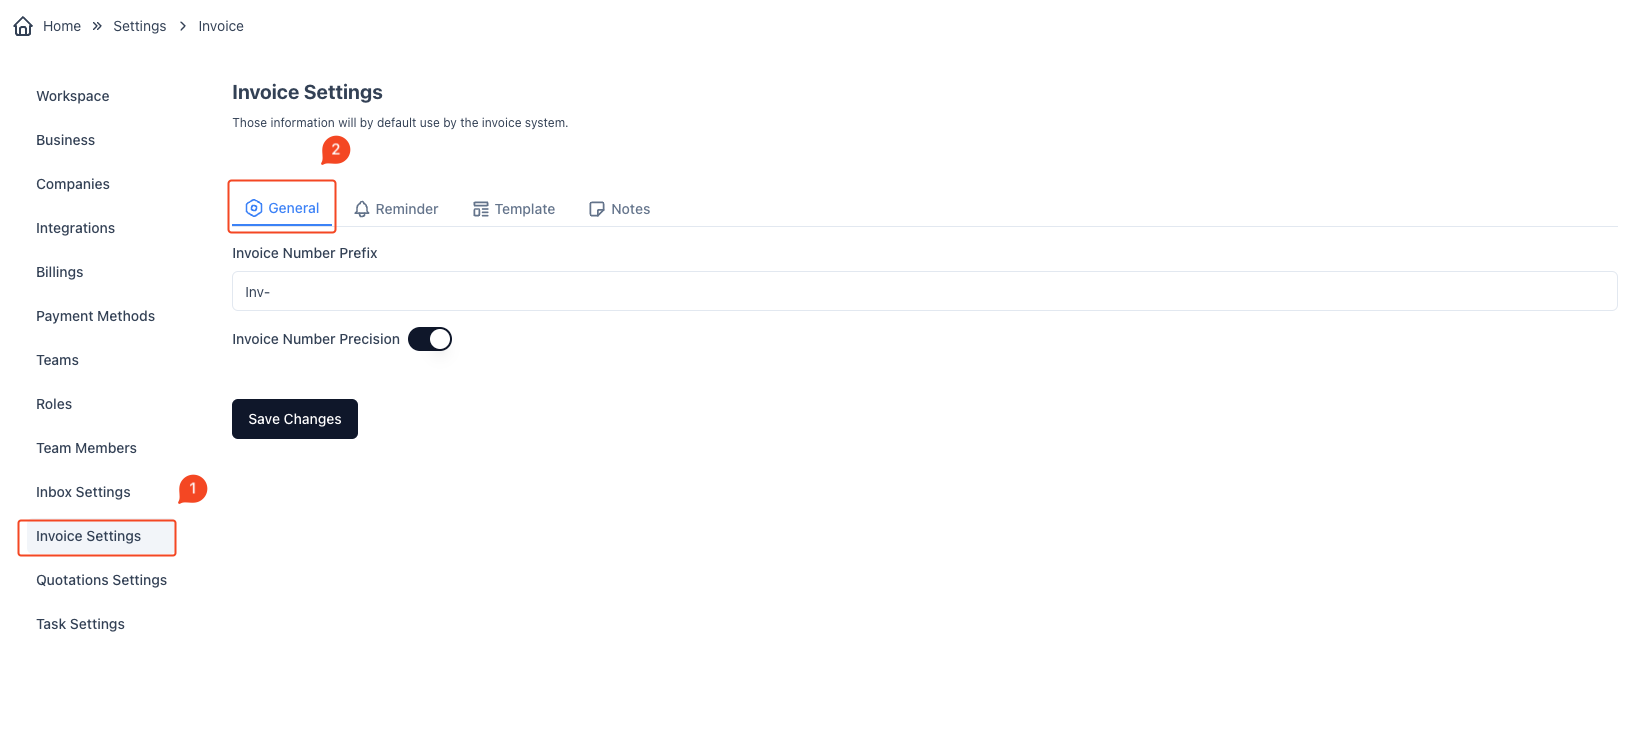
- On the left sidebar, click on invoice Settings.
- Select the General Tab
- Once in the invoice Settings, go to the General tab.
- Change the invoice Number Prefix
- Locate the invoice Number Prefix input field.
- Enter the desired prefix (e.g., “Quo-“) for your invoices. This prefix will be prepended to all generated invoice numbers.
- Enable invoice Number Precision
- Toggle the invoice Number Precision switch to enable precision numbering. When enabled, this option ensures that your invoice numbers follow a precise and consistent format.
- Save Changes
- After setting your desired prefix and enabling the precision option, click the Save Changes button to apply the new settings.
These settings allow you to standardize your invoice numbers with a specific prefix and a precise numbering format, making your invoices more organized and easier to track.


