Once an Email Sequence has been initialized for a deal, follow these steps to add Email Steps in Taskip.
Step 1: Open the Sales Pipeline #
- Navigate to the Dashboard.
- Click on Sales Pipeline from the left sidebar.
Step 2: Access the Deal’s Email Sequence #
- Click on the deal name to open its details.
- Select the Email Sequence tab.
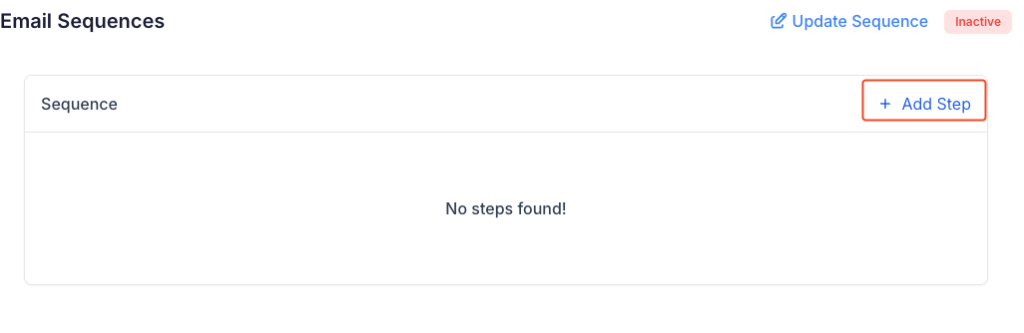
Step 3: Add a New Email Step #
- Click on “+ Add Step” in the top-right corner.
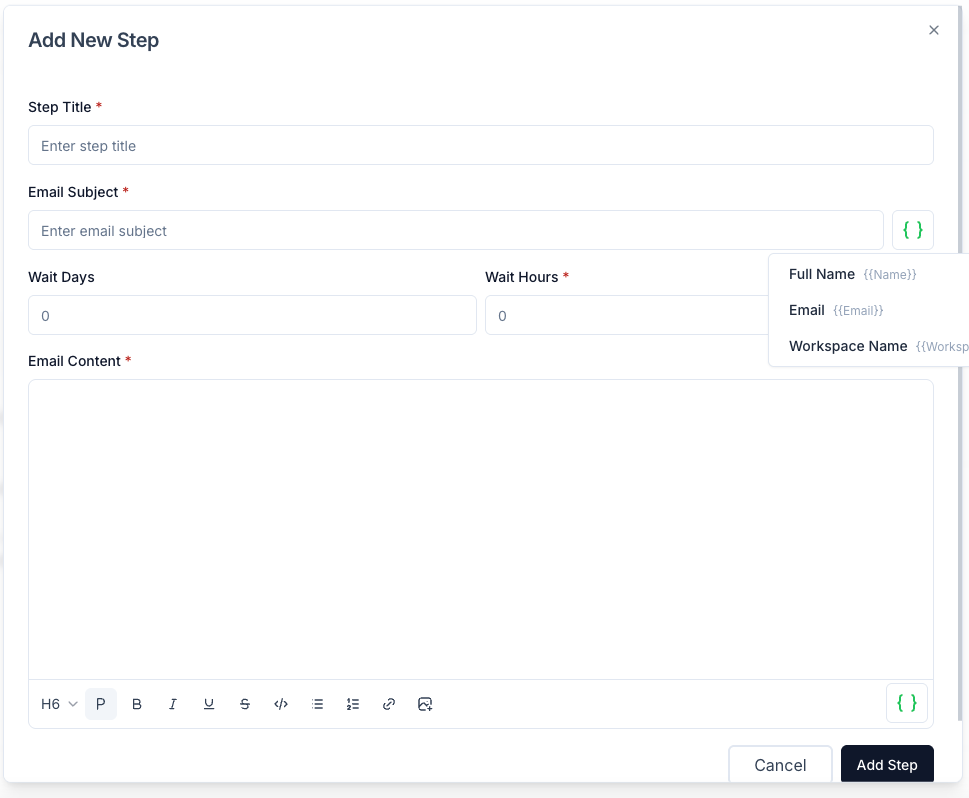
- A modal titled “Add New Step” will appear.
Step 4: Configure the Email Step #
- Step Title – Enter a title for the email step.
- Email Subject – Define the subject line of the email.
- Wait Days / Wait Hours – Specify the delay before sending this email after the previous step.
- Email Content – Write the body of the email. You can use variables such as:
{{Name}}for the recipient’s full name.{{Email}}for the recipient’s email.{{Workspace Name}}for the workspace details.
Step 5: Save the Email Step #
- Click the “Add Step” button to save the email sequence step.
- Repeat the process for additional steps if needed.
Once the steps are added, Taskip will automatically send emails according to the sequence timing.


