To create a deal in the sales pipeline in Taskip, follow these steps:
1. Navigate to the Sales Pipeline #
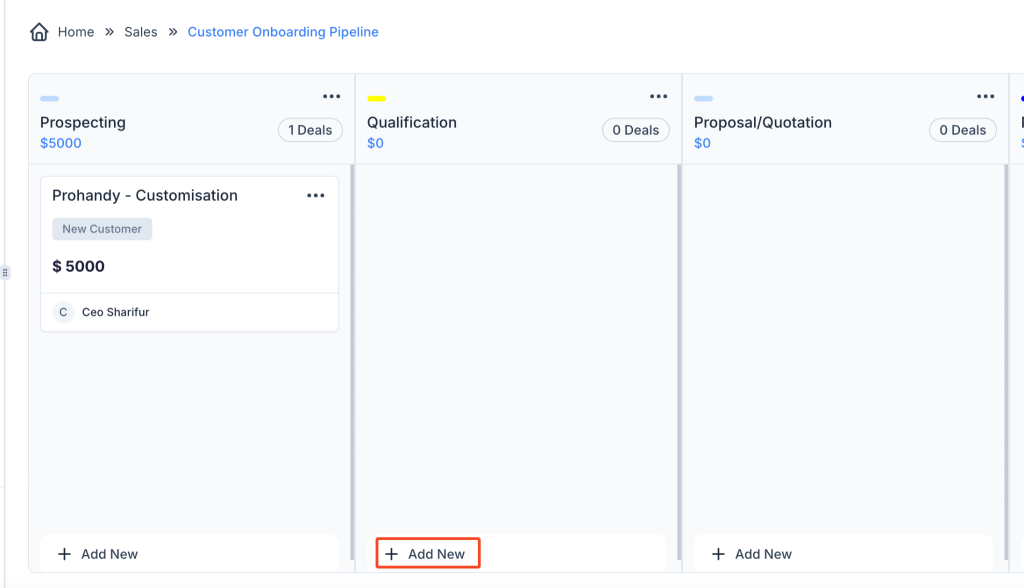
- Go to the Sales Pipeline section, where all your deals and stages are managed.
2. Select the Appropriate Stage #
- In the sales pipeline, choose the appropriate stage where you want to add the new deal. For example, you might place a new deal in the Prospecting stage.
3. Click “Add New” #
- At the bottom of the selected stage, click the + Add New button.

4. Enter Deal Information #
- A pop-up form will appear for creating the deal. Fill out the following required fields:
- Deal Name: Enter a name for the deal (e.g., “Prohandy – Customisation”).
- Deal Owner: Select the team member who will own the deal.
- Select a Contact: Choose the contact related to this deal (e.g., “Ceo Sharifur”).
- Select Company: Select the company associated with the deal.
- Deal Amount: Enter the deal value.
- Select Tags: Optionally, assign tags to categorize the deal.
- Closing Date: Set a closing date for the deal.
- Description: Provide a description of the deal or any important notes.
5. Click “Create Deal” #
- After filling in all the necessary details, click the Create Deal button to save the deal in the pipeline.
6. Edit or Delete Deal (Optional) #
- If you need to make changes later, you can edit or delete the deal:
- Hover over the deal card and click the three dots (•••).
- Select Edit to modify the deal, or Delete to remove it from the pipeline.
Insight: #
Creating deals within your pipeline helps track progress and maintain visibility over sales activities. By managing each deal in stages, you can stay organized and ensure that all relevant tasks and actions are associated with each step in the sales process.


