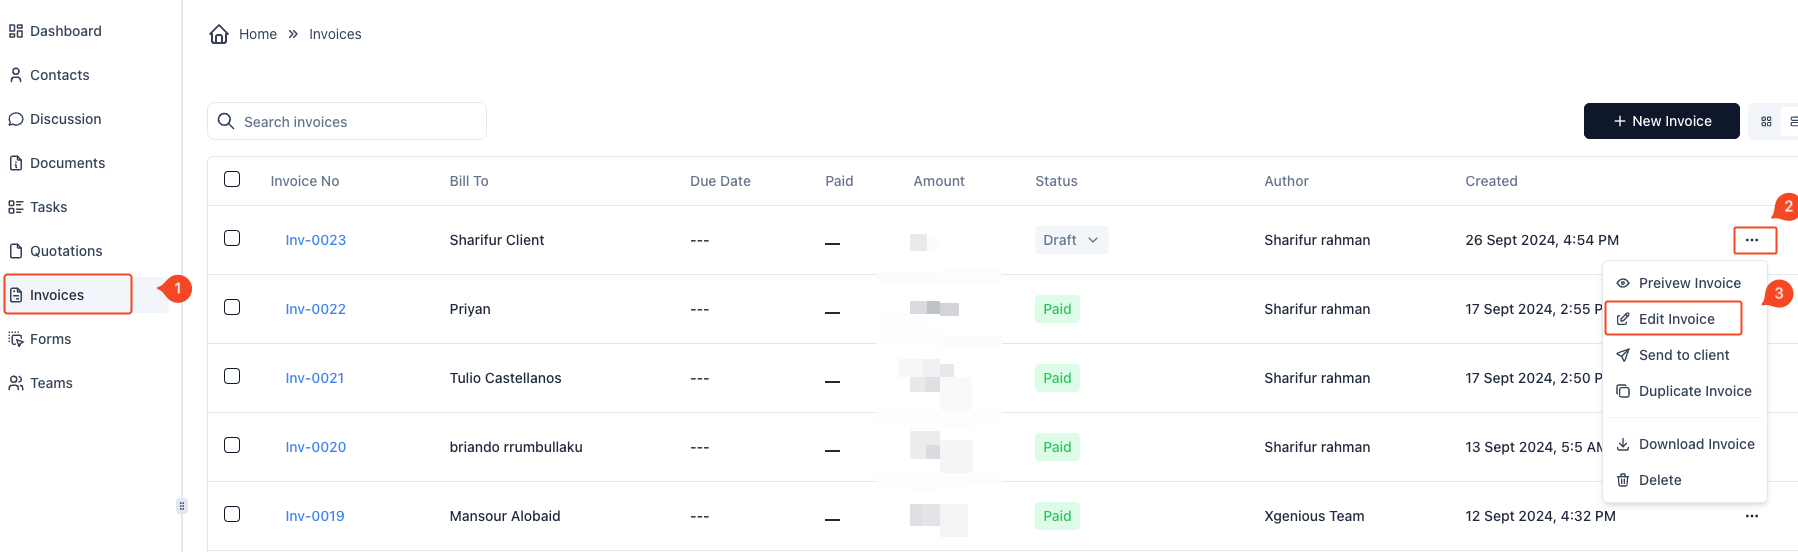
- Navigate to the “Invoices” section:
- On the sidebar, click on “Invoices” (Marked as
1).
- On the sidebar, click on “Invoices” (Marked as
- Locate the Invoice:
- Find the specific invoice from the list for which you want to change the status.
- Access the Status Dropdown:
- Click on the status dropdown button next to the invoice (Marked as
2).
- Click on the status dropdown button next to the invoice (Marked as
- Select the New Status:
- A dropdown menu will appear with different statuses like Draft, Sent, Pending, Overdue, Accepted, Paid, Partially Paid, Void, Refunded, or Canceled.
- Select the appropriate status from the list.

- Alternatively, Edit the Invoice for Advanced Options:
- Click on the three dots (
...) at the end of the invoice row to bring up the context menu (Marked as2). - Select “Edit Invoice” (Marked as
3).
- Click on the three dots (
- Inside the invoice editing view, click on the “Change Status” dropdown at the top (Marked as
1). - Choose the desired status from the dropdown (Marked as
2).
Your invoice status will now be updated to the selected option.


