To share access to a document with a team member or client, follow these steps:
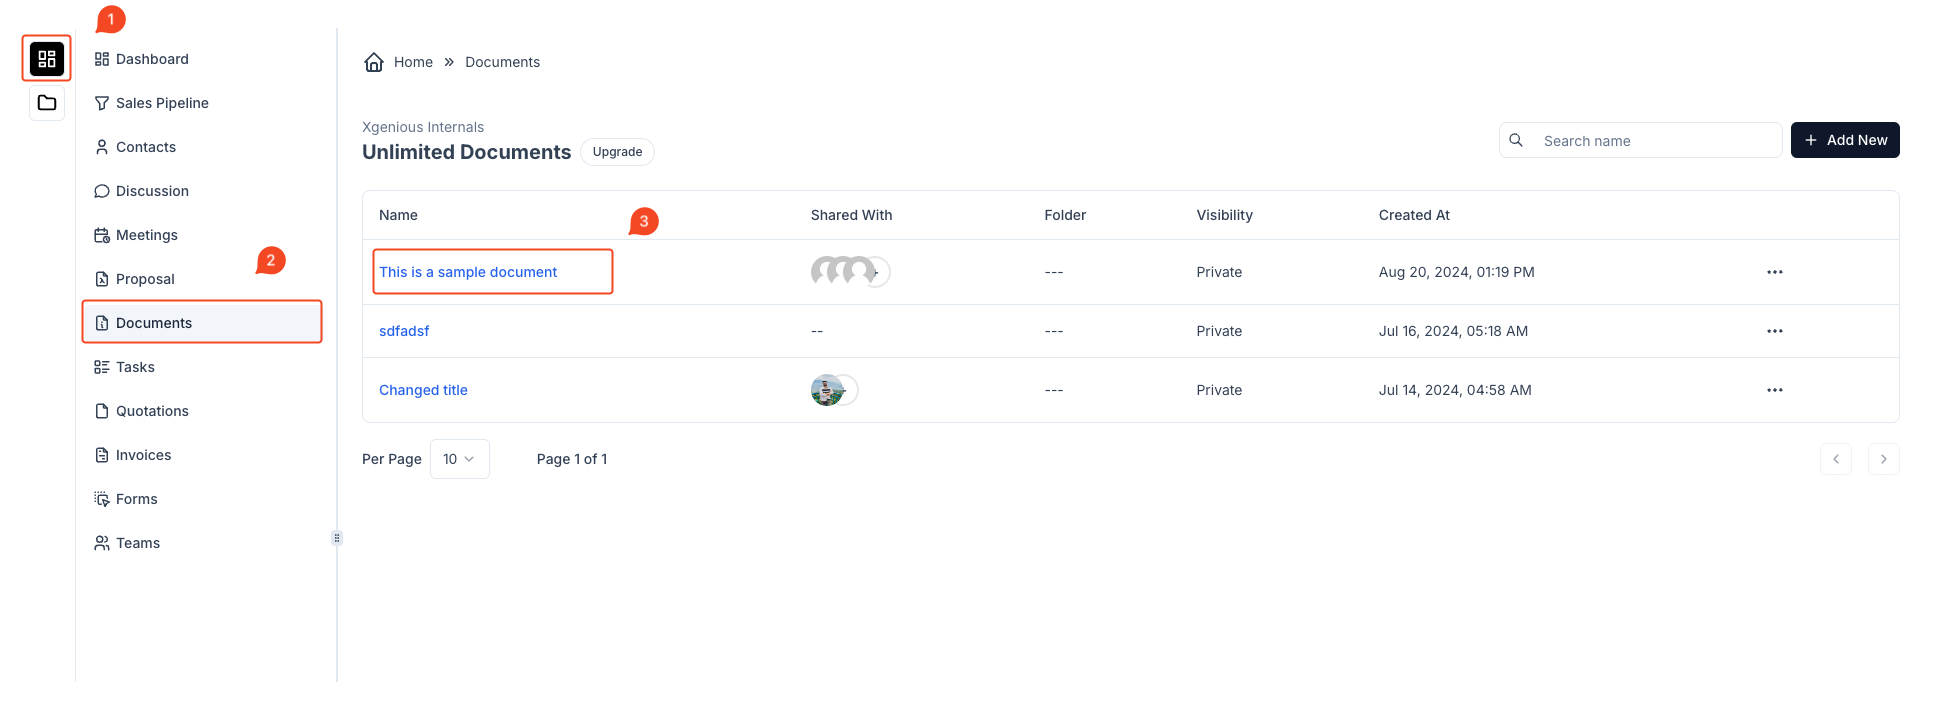
- Navigate to the Documents Section:
- Click on Documents from the left sidebar menu.
- Select the Document:
- Click on the document you want to share from the list.
- Click the Share Icon:
- Inside the document view, find the Share icon (depicted as an arrow pointing right) at the top right corner of the document header.

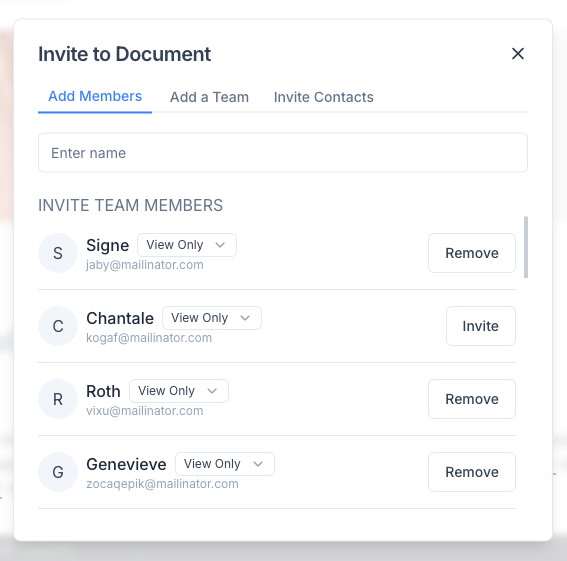
- Invite to Document:
- A window will pop up titled “Invite to Document.” You can:
- Add Members: Enter the name of a team member from the list or search bar, then click Invite.
- Add a Team: If you have predefined teams, click on the “Add a Team” tab and select the team.
- Invite Contacts: For clients or contacts not in your team list, you can use the “Invite Contacts” tab.
- A window will pop up titled “Invite to Document.” You can:
- Adjust Permissions:
- Set the permissions for each member, such as View Only, Can Edit, etc., depending on the level of access you want to provide.
- Confirm Invitation:
- Click Invite or Remove to add or revoke access for each person.
By following these steps, you can easily share the document with specific team members, entire teams, or clients as required.


