Workspace Settings let you fully customize your Taskip environment to reflect your business identity. You can set up a custom domain for white-labeling, personalize your branding, and configure regional preferences such as language, currency, and time zone.
These settings apply to your entire workspace, ensuring a consistent experience for both your team and your clients.
Navigation Path #
To access Workspace Settings in Taskip:
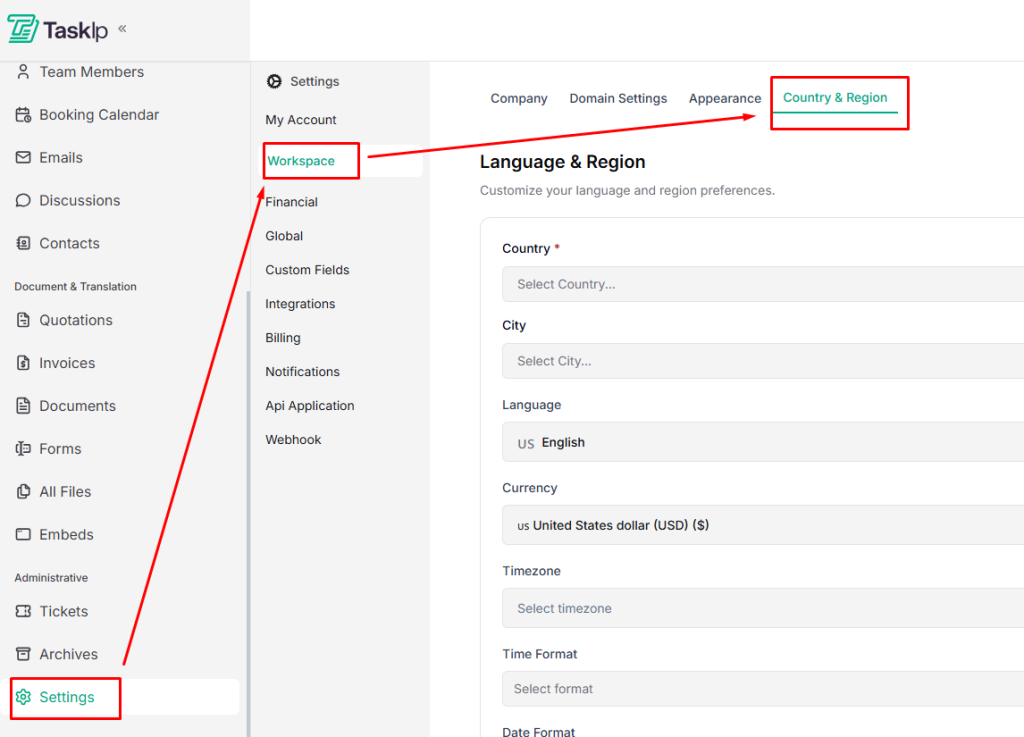
Settings → Workspace → Company / Domain Settings / Appearance / Country & Region
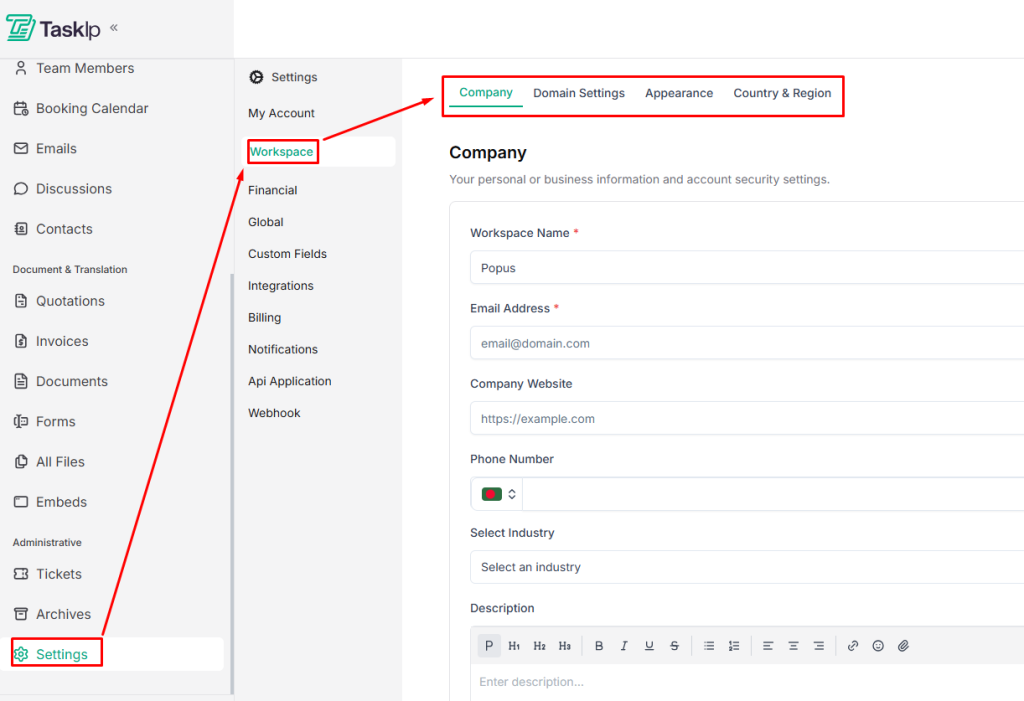
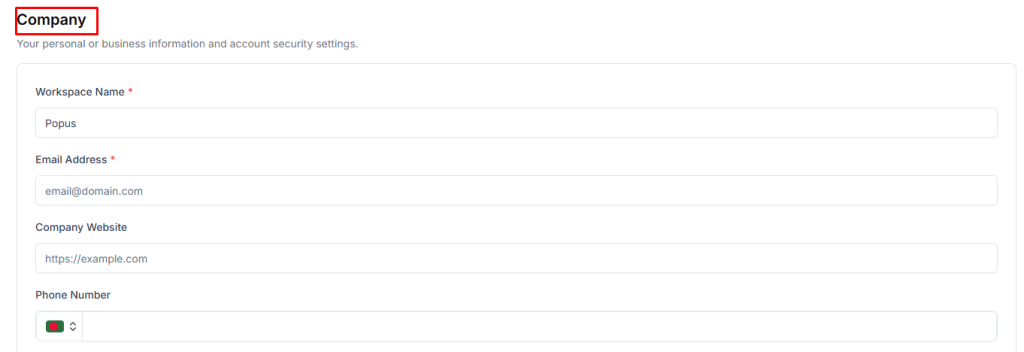
Company Settings #
The Company tab lets you define your business identity and contact details.
- Go to Settings → Workspace → Company.
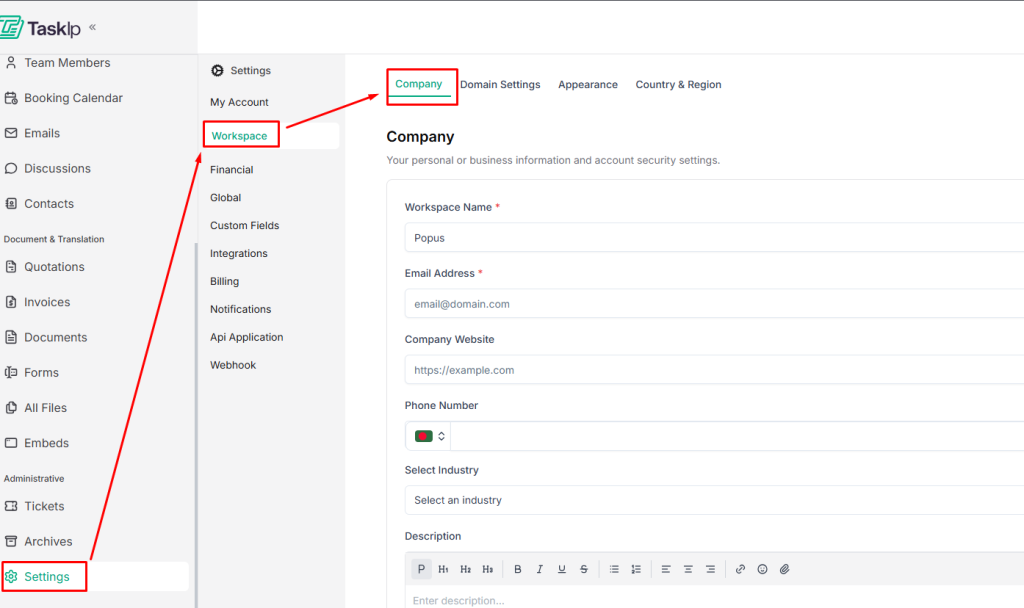
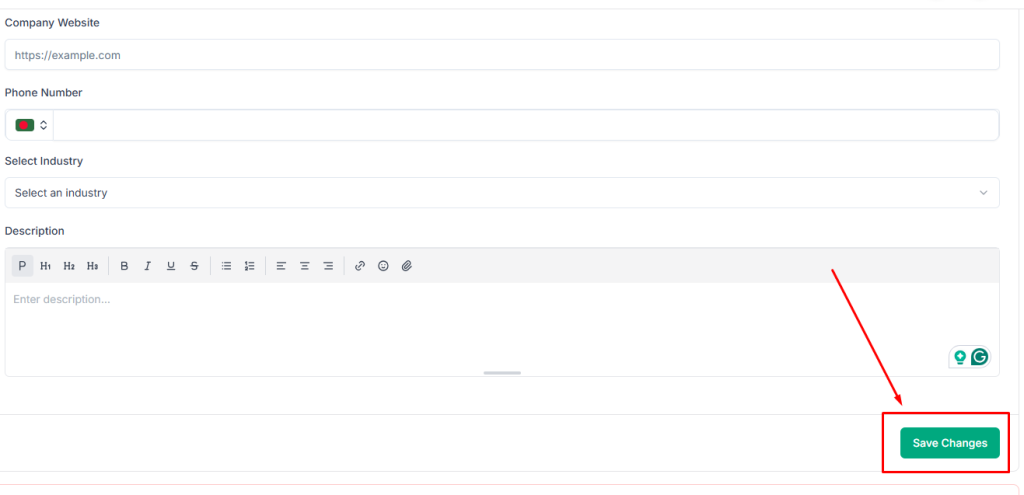
- Enter your Workspace Name, Email Address, Company Website, and Phone Number.
- Select your Industry from the dropdown menu.

- Add a brief Description of your business.

- Click Save Changes to apply your updates.
| 💡 Tip: Keep your business description concise and clear; it will be visible to your clients and team members. |
Custom Domain Setup #
The Domain Settings tab lets you add a custom domain to white-label your Taskip workspace.
Steps to set up a custom domain:
- Go to Settings → Workspace → Domain Settings.

- Check your Current Domain.

- In the Add Custom Domain field, enter your desired subdomain (e.g., crm.yourdomain.com).

| 💡 Tip: Use a clear and easy-to-remember subdomain for your clients. |
- Configure your DNS records as per the instructions.
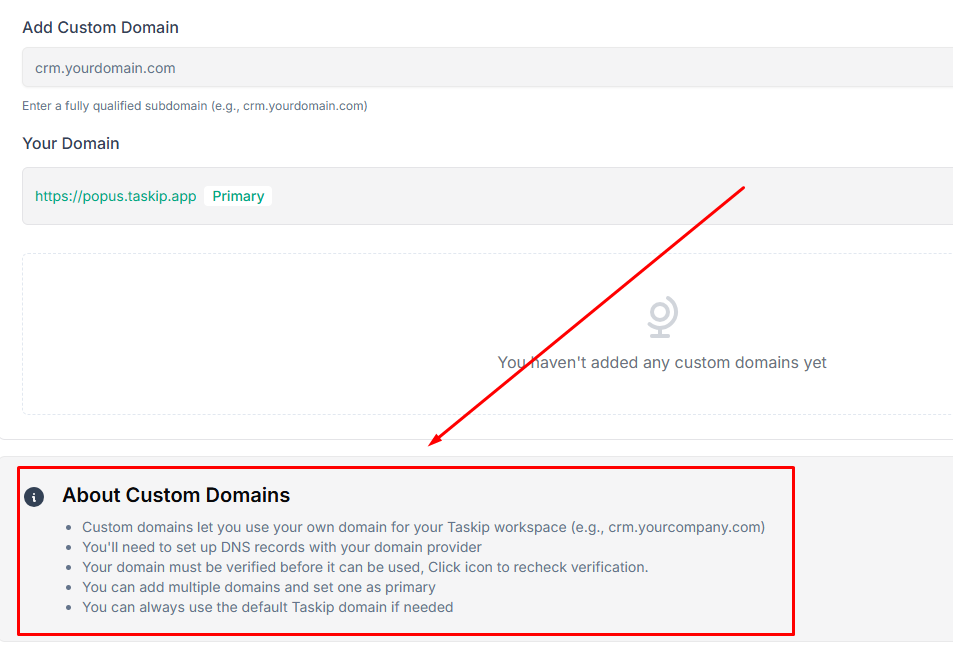
- After verification, mark the domain as Primary to make it the default for your workspace.
| ⚠️ Note: Only verified domains can be set as Primary. |
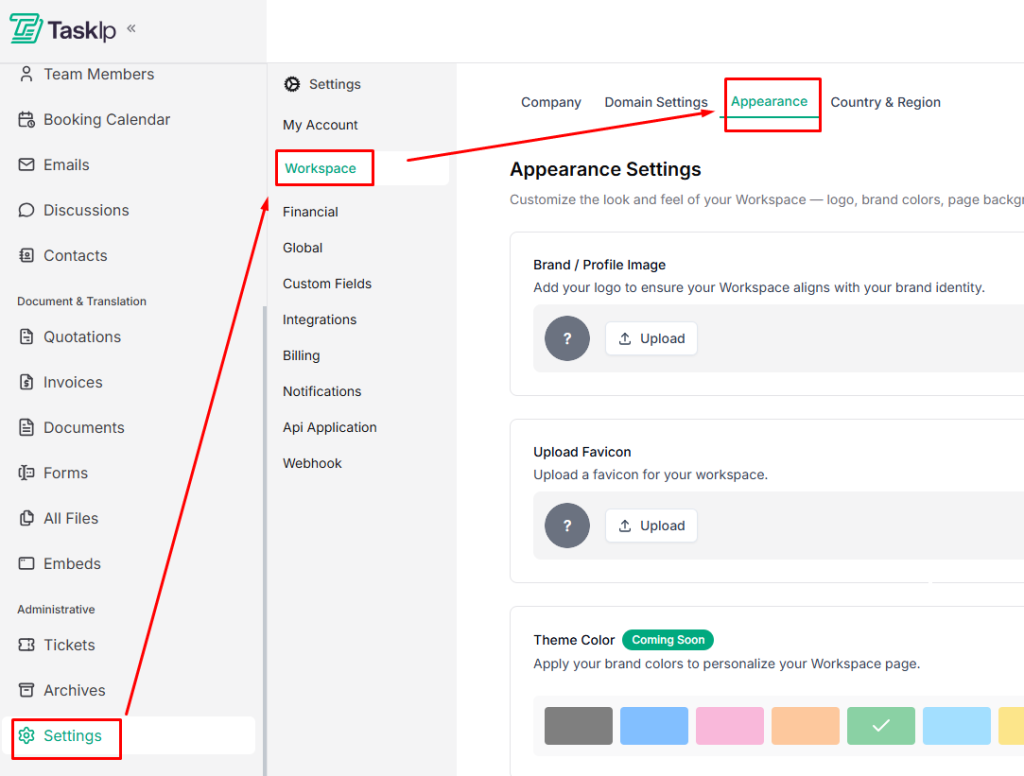
Appearance Customization #
The Appearance tab allows you to personalize your Taskip workspace to reflect your brand identity.
Steps to customize your appearance:
- Go to Settings → Workspace → Appearance.
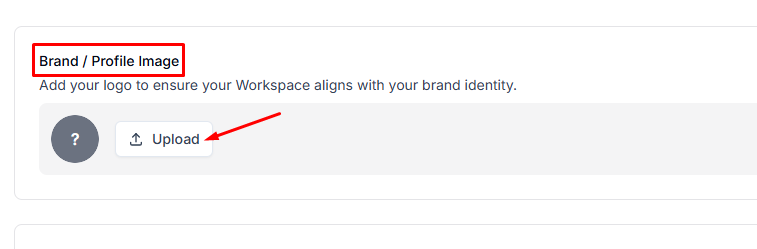
- Upload your Brand/Profile Image (company logo) to display on your portal.
- Upload a Favicon for browser tabs to reinforce your brand.
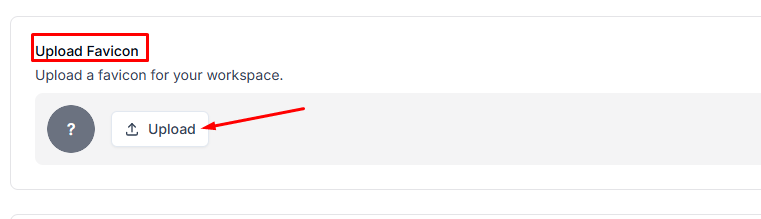
| 💡 Tip: Use high-quality images for your logo and favicon to maintain a professional look across devices. |
- Coming soon: Customize Theme Color, Page Color, and Calendar View for a fully branded experience.
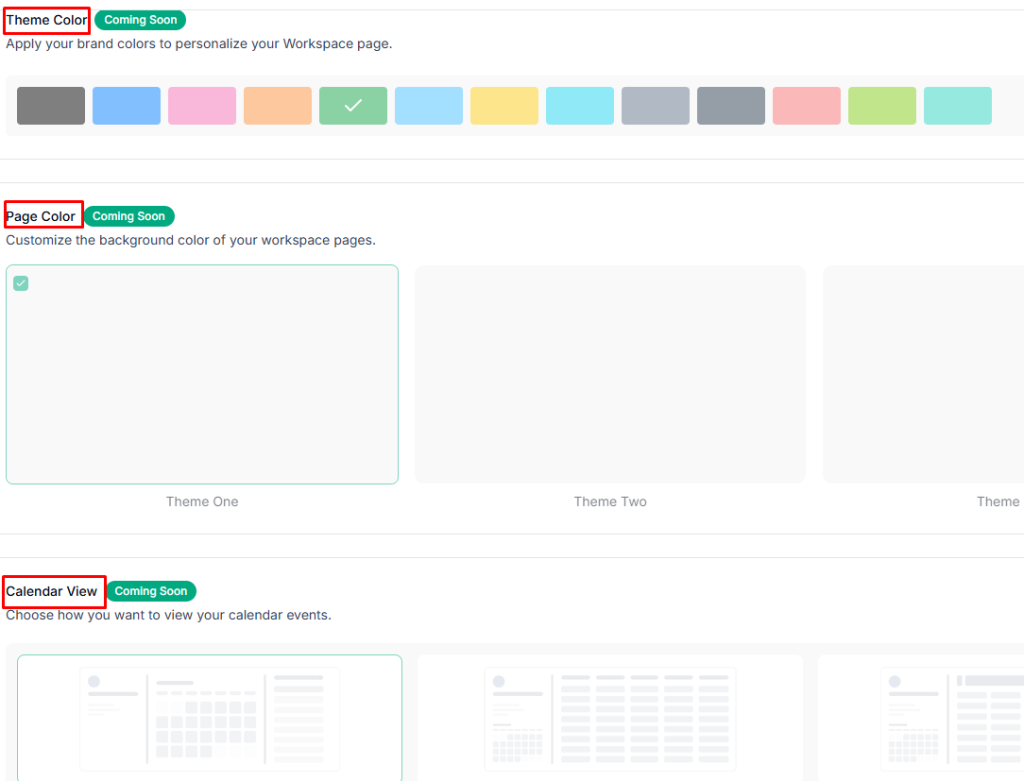
| ⚠️ Note: Appearance settings apply to all workspace users and clients. |
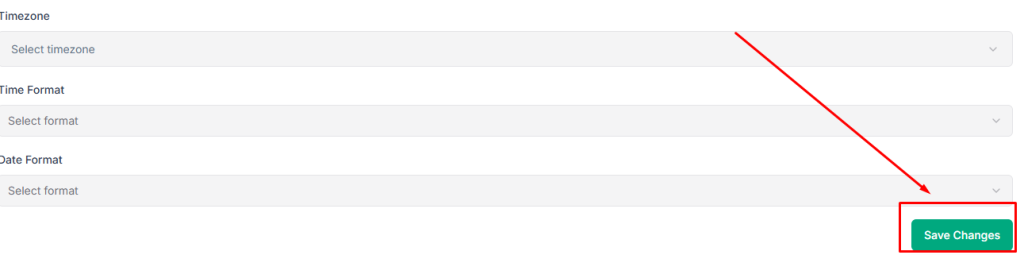
Regional Preferences #
The Country & Region tab lets you configure regional settings for your workspace, ensuring accurate scheduling, reporting, and localized experiences for your team and clients.
Steps to set Regional Preferences:
- Go to Settings → Workspace → Country & Region.
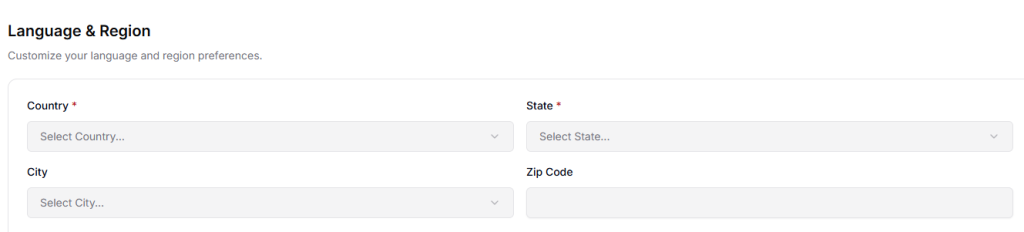
- Select your Country, State, City, and enter your Zip Code.
- Choose your preferred Language and Currency using the dropdown menu.

- Set your Timezone, Time Format (12-hour or 24-hour), and Date Format using the dropdown menu.
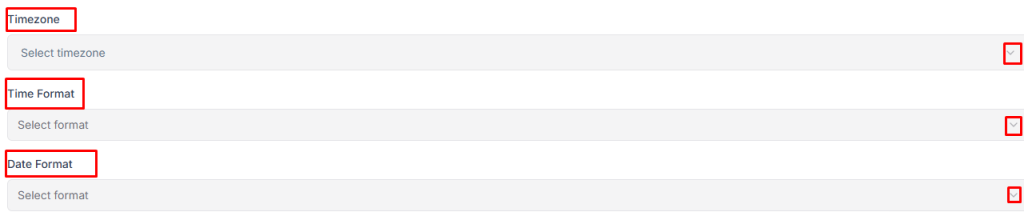
| 💡 Tip: Make sure your timezone and date/time formats match your team’s location to avoid scheduling conflicts. |
- Click Save to apply your preferences.
| ⚠️ Note: These settings affect all workspace users and client-facing views. |
Delete Workspace #
You can permanently delete your Taskip workspace from the Company tab.
Steps to delete your workspace:
- Go to Settings → Workspace → Company.
- Scroll down to the Delete Workspace section.
- Read the warning carefully:
“ This will permanently delete your entire workspace, including all calendars, team members, bookings, and associated data. This action is irreversible — please proceed with caution.” - Click Delete Account to confirm.

| ⚠️ Important: This action cannot be undone. Make sure to export any important data before deleting your workspace. |


