Custom fields allow you to capture additional information specific to your business needs.
You can create fields of various types and organize them into groups, making it easier to manage data across contacts, projects, and other modules.
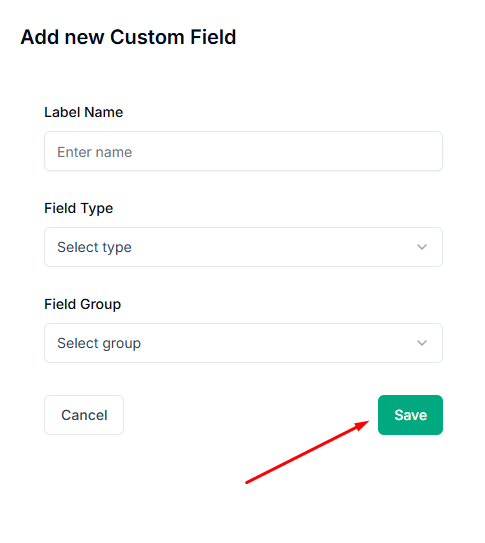
Creating a Custom Field #
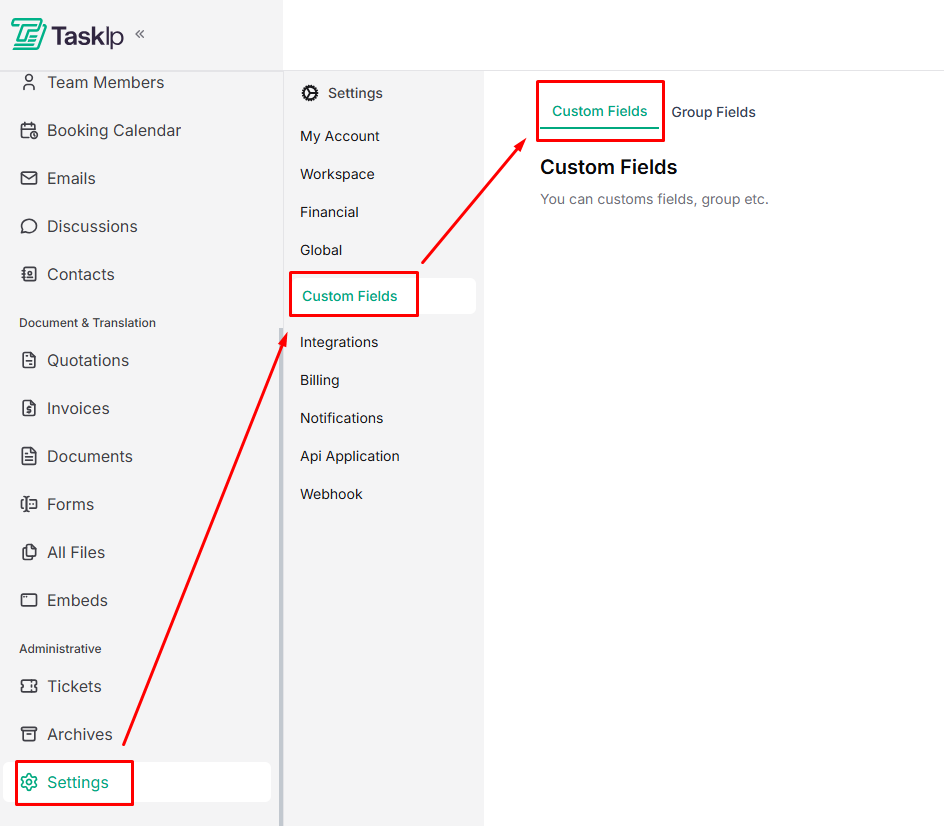
- Go to Settings → Custom Fields.
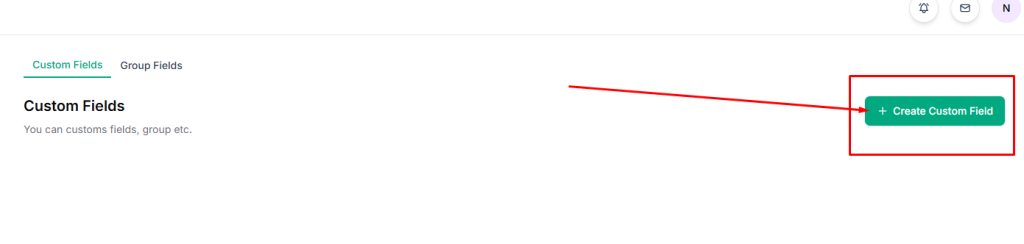
- Click Create Custom Field.
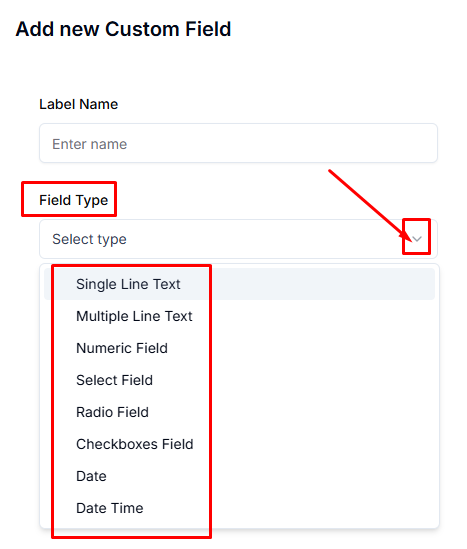
- Enter a Label Name that describes the field (e.g., “Company Size” or “Contract End Date”).
- Select a Field Type based on your data needs from the dropdown menu:
- Single Line Text – Short text entries
- Multiple Line Text – Longer descriptions or notes
- Numeric Field – Numbers only
- Select Field – Dropdown with predefined options
- Radio Field – Single selection from visible options
- Checkboxes Field – Multiple selections allowed
- Date – Date picker
- Date Time – Date and time picker
- Assign the field to a Field Group for better organization. Select the field from the
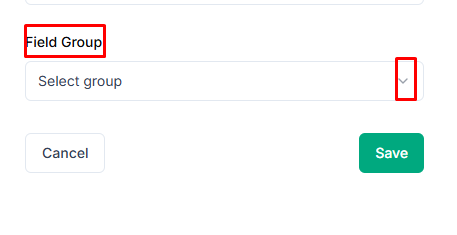
- Click Save to create the field.
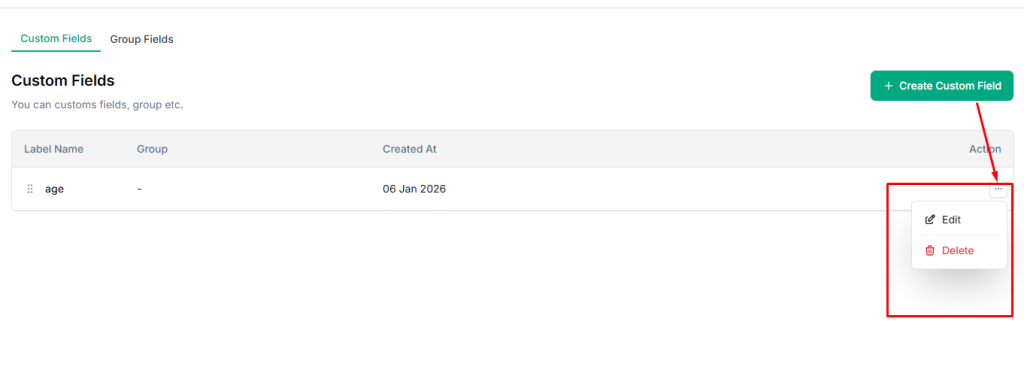
Managing Custom Fields #
- View all custom fields on the Custom Fields page.
- Edit existing fields by clicking on them.
- Delete unused fields to keep your data structure clean and organized.
| 💡 Tip: Organize fields into meaningful groups to simplify data entry and reporting. |


