Creating a project sets the foundation for organizing tasks, assigning team members, and tracking progress.
A well-configured project helps ensure smooth collaboration and clear accountability.
Creating Projects #
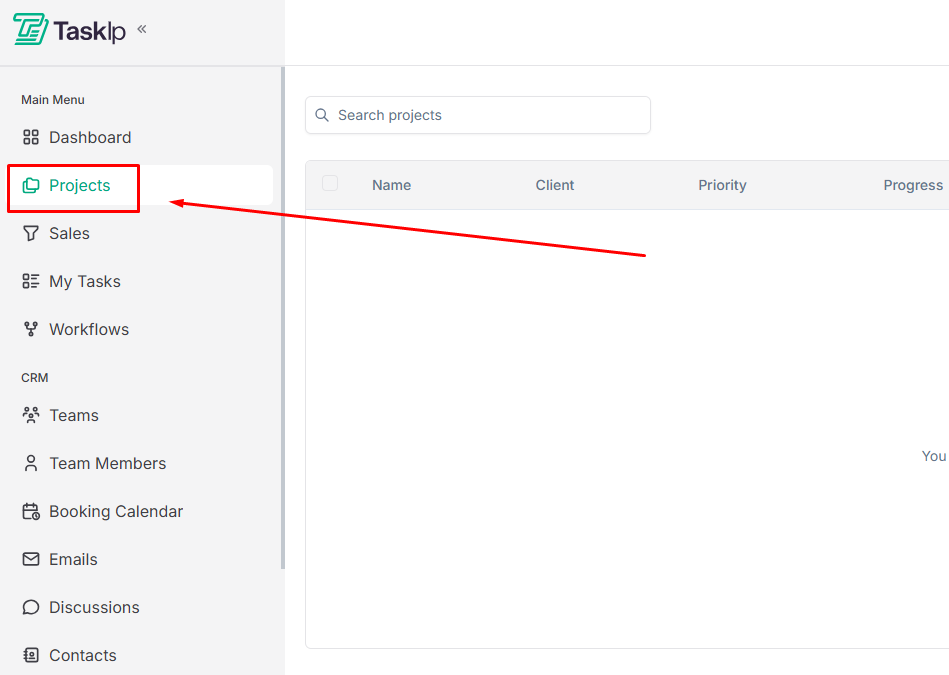
- Click Projects from the main navigation menu.
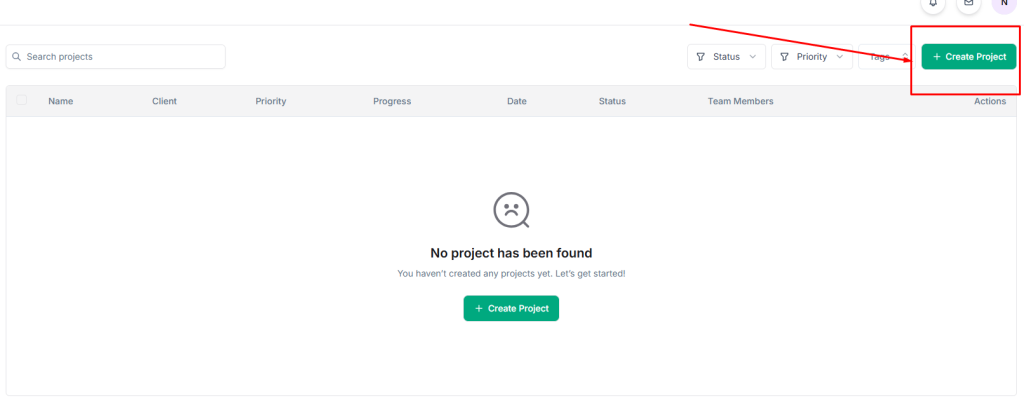
- Click Create Project.
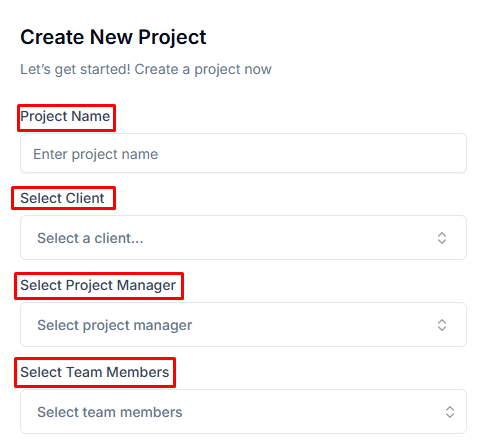
- Fill in the project details:
Basic Information #
- Project Name: Enter a descriptive title for your project
- Select Client: Choose the client associated with this project from the dropdown
- Select Project Manager: Assign a team member to lead the project
- Select Team Members: Add team members who will work on this project
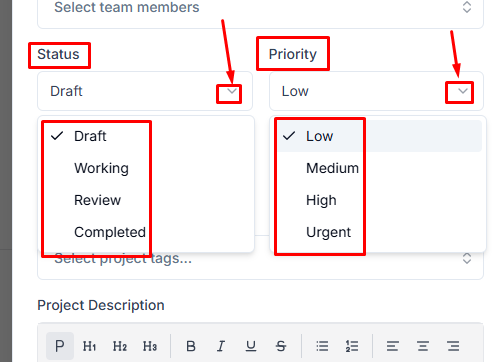
Status and Priority #
- Status — Set the initial status using the drop-down menu.
- Draft: Project is being planned
- Working: Project is actively in progress
- Review: Project is awaiting approval
- Completed: Project is finished
- Priority — Define urgency level from the drop-down menu.
- Low: No immediate deadline pressure
- Medium: Standard priority
- High: Requires prompt attention
- Urgent: Immediate action required
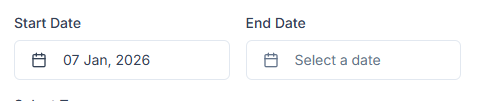
Timeline #
- Start Date: Select when the project begins
- End Date: Set the project deadline
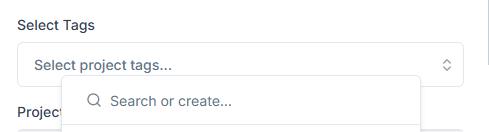
Organization #
- Select Tags: Add tags for filtering and categorization
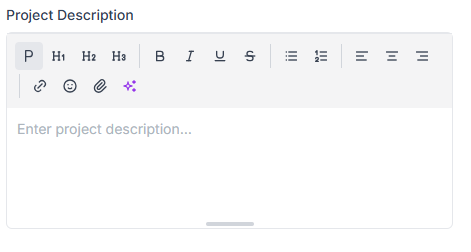
- Project Description: Provide details about project scope, objectives, or special instructions
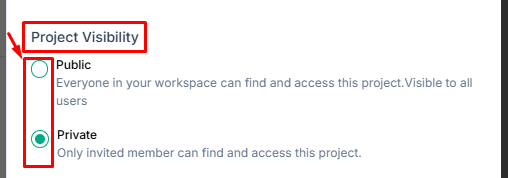
Visibility Settings #
- Public: Everyone in your workspace can find and access this project
- Private: Only invited members can find and access this project
Notifications #
Toggle Notify client on project create to automatically inform the client when the project is created.
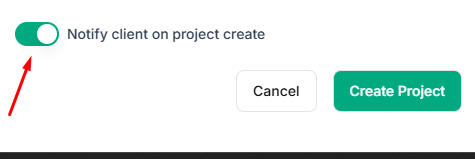
- Click Create Project to save.
| 💡Tips Set accurate start and end dates to enable proper timeline tracking and ensure Gantt chart views display correctly. |


