How to Run an Inbox Automation Based on Sender Email in Taskip #
Use this automation when you want to trigger actions for messages coming from specific email addresses , like leads, clients, or support notifications.
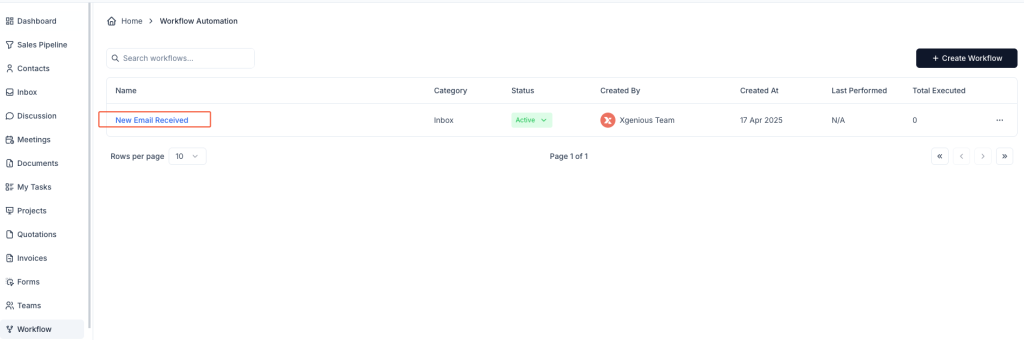
Step 1: Access Your Workflows #
- From the left menu, go to Workflow.
- Click + Create Workflow at the top right.
Step 2: Choose Trigger Type #
- Give your workflow a name like:
Lead Follow-Up,Delete Auto Replies, orTag Priority Clients. - Select Inbox as the category.
- Choose the trigger: New Email Received.
Step 3: Set Condition – “From Specific Sender” #
- Under the IF section, choose:
- From Specific Sender (as shown in image 2)
- Condition type:
Match
- Enter the sender’s email address (example:
[email protected])- You can add multiple emails separated by commas or pressing
Enter.
- You can add multiple emails separated by commas or pressing

Step 4: Choose Actions to Perform #
Now decide what Taskip should do when an email from the selected sender arrives:
Examples from the Then menu:
- Reply Email – auto-respond to the sender
- Assign Tag – e.g., “High Priority”, “Client”
- Create Task – assign to a team member
- Convert to Deal – start a deal in the Sales Pipeline
- Convert to Contact – save them as a contact
- Convert to Support Ticket – log it for your helpdesk
- Delete Conversation – it will delete the Email
- Trigger Web-hook Call – it will trigger a web-hook call

You can add multiple actions using + Add Action.
Step 5: Save and Activate #
- Click Create Workflow to save your automation.
- Make sure it’s listed as Active in your workflow dashboard.
Now, every time a message comes in from the specified sender(s), your defined actions will run — no manual steps needed.
Example: Auto-Tag and Convert Client Emails #
Workflow Name: VIP Client Handler
Condition: From Specific Sender =[email protected]
Actions:
- Assign tag
Client- Convert to Contact
- Add to Deal Log


