Use this workflow to automatically organize or tag conversations when someone replies to a previous message. Great for keeping follow-ups in check without lifting a finger.
Step 1: Go to the Workflow Section #
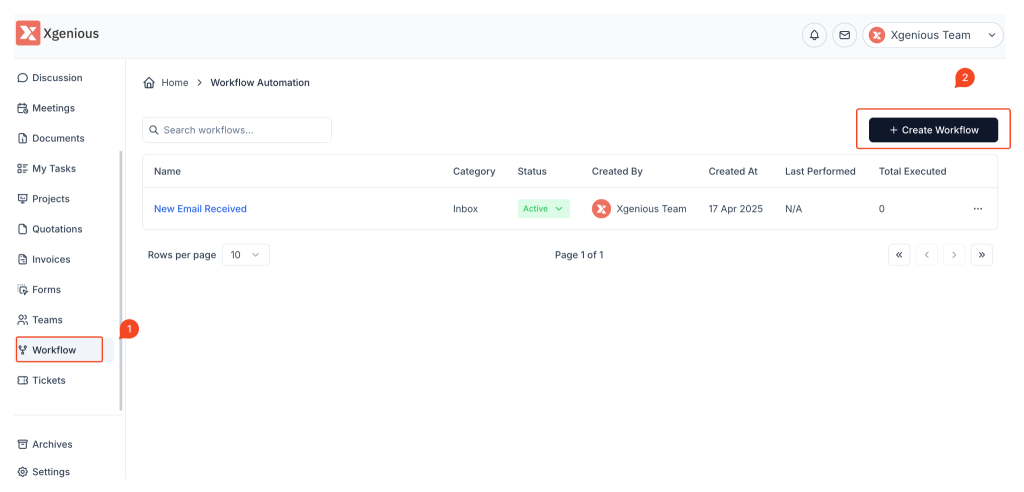
- On the left sidebar, click Workflow.
- Click the + Create Workflow button at the top right.
Step 2: Choose the Trigger Type #
You’ll see a popup titled Create Workflow.
- Enter a name for your workflow (e.g., Follow-Up Replies).
- Under the Inbox tab (selected by default), choose the first option:
- Received New Reply
- Description: “Move conversations sent from person, address or number”
This is the blue card with an envelope + arrow icon (highlighted in red in your image).

Step 3: Define Conditions (If) #
After selecting “Received New Reply,” you can define specific conditions:
- Example: If the subject contains
[Contact Form]or - If sender is a specific email address or team member
This helps you narrow down exactly which replies should trigger the workflow.
Step 4: Define What Should Happen (Then) #
Now decide what Taskip should do when the conditions are met:
- Assign a tag (like
Follow-Up) - Move to folder or Assign to team member
- Trigger internal notification
You can add more than one action to streamline your process even further.
Step 5: Save and Activate #
- Once everything looks good, click Create Workflow.
- Ensure the workflow is marked Active from the workflow dashboard so it starts working immediately.
Use Case Example #
Workflow Name: Client Follow-Up Replies
When: A contact replies to an email
Condition: Sender’s address contains@clientdomain.com
Action: Assign tagPriorityand notify the assigned team membe


